HOW TO STYLE A TABLE
SO THIS YEAR, I THOUGHT I'D SHARE SOME OF MY DESIGN IDEAS AND THOUGHTS FOR THE EASTER DINNER TABLE TOO, SO HERE IT IS - HOW TO STYLE A TABLE!
This isn't really a DIY post... it's more a chat about how to put the table together, how to use what you have, a few notes on design and lots of inspiring photos (I was channeling my inner Martha when I took these!).
That said, I explain how I make all these elements in this post: DIY EASTER HERB POTS.
Firstly, you can't go wrong with a table laid in white - it's classic, it never goes out of style, and it always looks clean and calming.
And just as white plates always make food look it's best, a white cloth will set off any arrangements beautifully.
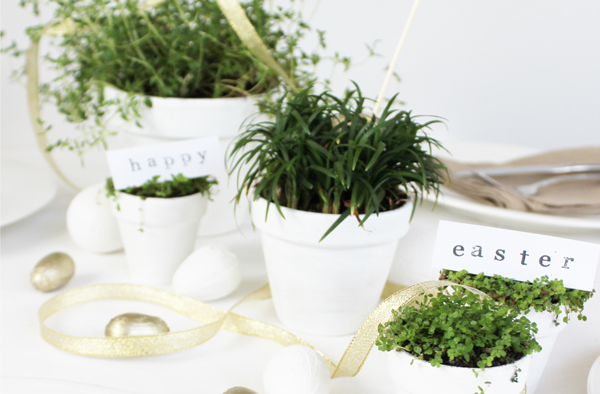
So over my white linen cloth, I generally like to layer in some white texture - in this case there's the shiny plates, rough white eggs, smooth paper, and the white terracotta plant pots.
Now I just loved the DIY EASTER HERB POTS from my last post, so I ran with it and made a few more little ones with different plants - and these are the feature of the arrangement.
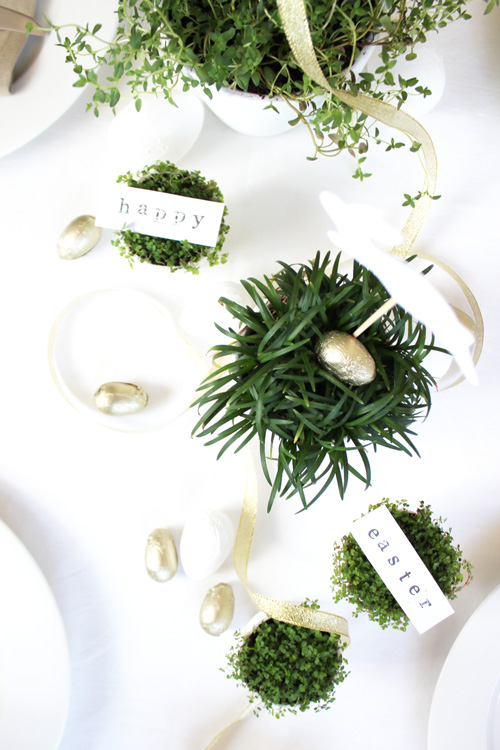
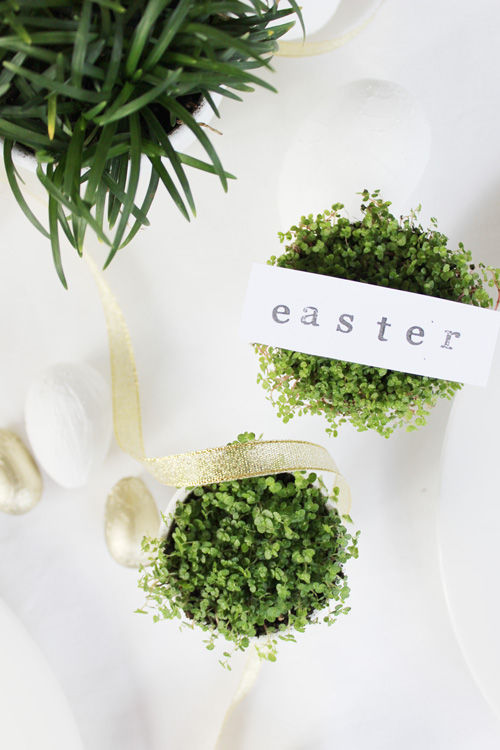
It's the play on textures here that makes the it really pop - you've got the wild and crazy Thyme, the delicate Baby's Tears, and the spiky straight grass (who's name escapes me... but similar plants are easy to find).
The non matching plants make the whole arrangement look organic and unfussy - a little bit naive almost - but that's what makes it work.
The stamped signs - with their uneven ink and lettering - even the fact that the paper isn't cut absolutely straight - echo this.
Once I've got my base textures and focal points, I often find the arrangement needs one more layer of interest to give it that 'aaah' factor. In this case, it's the gold.
The soft gold gives an added layer of interest, and the ribbon gives the whole thing movement and softness. Honestly, I just unrolled a reel of ribbon and let it fall and loop where it would, then snipped the ends neatly - too easy, and the effect is great.
The metallic tones set off the dusty white textures, and give everything a little bit of shine and movement too.
This table centerpiece is quite detailed, but at the same time it's very simple.
You could use short glass vases filled with herbs or greenery if you don't have these pots.
You could also use fabric covered foam balls/eggs or even real eggs scattered amongst the chocolate ones... real duck eggs in all their blue hues would look absolutely stunning come to think of it.
The trick is to keep the color scheme simple and harmonious - go for a mixture of textures rather than colors - if in doubt, use less color and you can't go wrong; for example if I were to use duck eggs, I might lose the gold.
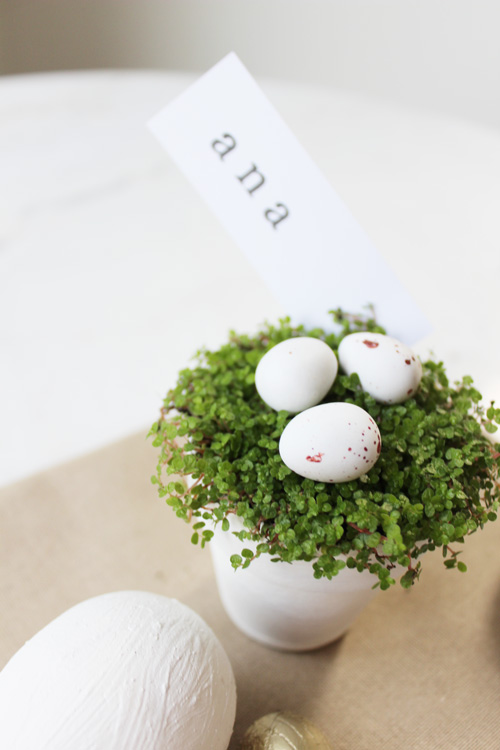
I thought I'd share these place card holders using little chocolate bird's eggs too - even though I didn't use them.
These would be delightful at each setting - placed on the napkin or in front of the plate.
It would be a more formal look, and you could team it with a row of the grass pots down the center of the table - the winding ribbon and scattered eggs would work really well with this look too.
So there we go! I hope this post has given you some ideas for designing and styling your own tables!
And if you have any extra tips, I'd love to hear about them in the comments below!
LOOKING FOR MORE EASTER PROJECTS? CHECK OUT MY EASY DIY BUNNY ARTWORK!
All the best,
Eliza.











12 comments